In my last blog post I tried to show the value of hidden fasteners in the design and construction of a covered porch. I had gotten as far as showing a completed log post base. It might work best to read this previous post first.
Ever try to plumb a tapered log post? I promise you will find way too many different readings on your level to be confident of plumb perfect. Mother nature says throw away the level and stand back and use your eyeball. If it looks good it probably is. It would be smart to check that the prescribed measurements for the coming roof structure align with this 'good enough' philosophy.
 |
| Big wood, big saw |
After plumbing up and bracing off our three log posts, we cut, plane and otherwise prepare the horizontal beams before lifting them into position. Once in place they will allow the roof load to transfer through the rafters and onto our posts.
 |
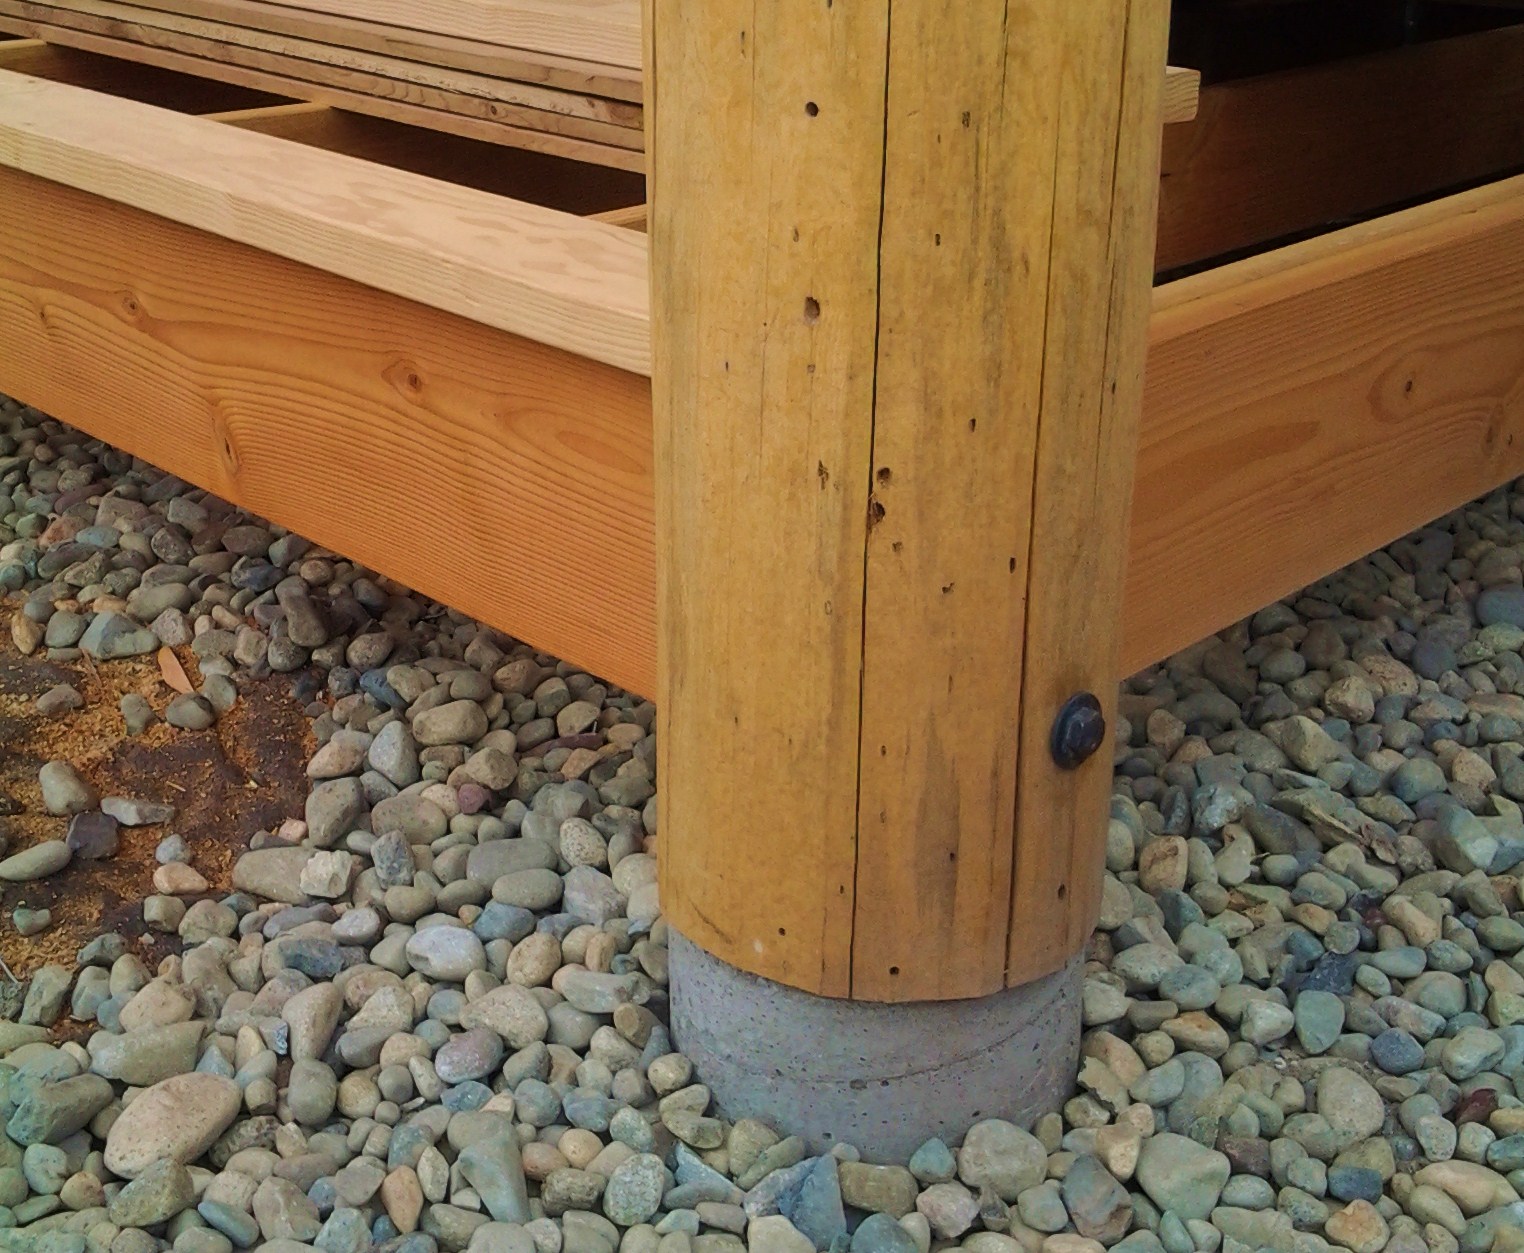
| All good posts deserve good beams |
With everything we are doing exposed to view, the scale and proportion of the finished product is very important. We use 6x ( in this case 6x10 and 6x12) solid sawn beams for the horizontal support system instead of the adequate but lighter visual impact of a 4x beam or the less friendly, man made reality of engineered wood (glu-lam beam).
 |
| Nick setting a mitered corner. |
The joinery in this installation may appear simple to the naked eye but is important to the long term presentation of this celebrated area of outdoor living. In this case we use a hybrid miter joint at the corners where the beams come together at 90 degrees. This modification will minimize the eventual shrinkage to the inner faces of the adjoining beams. I'll plan to do a future post explaining 'shrinkage' of large scale materials but suffice to say that with this approach we will minimize the negative visual aspect of a standard miter joint opening over time.
 |
| Big hammer, big lag |
Once the beams are in place over their respective posts we can add another element of our hidden fastener approach. Though this may not fly with some building inspectors we are able to use 16" lag bolts driven through each beam bearing location and into the post beneath. The threaded portion of the lag acts as a kind of 'ring shank' fastener as it penetrates the post end grain. Next comes the ridge post and ridge beam, here again we use a 16" lag from above and 8" Timberlock screws at the ridge post base.
 |
| Impact driver makes setting long screws 'No Problemo' |
For the rafters we again use Timberlock screws to act as tiedowns from above so as to be hidden from view.
 |
| Ridge post with diagonals for strength and beauty |
Once the rafters are properly secured we can proceed to the function of standard roofing methods as well as the further visual enhancement of the enclosed pine T&G soffits.